
This blog assumes you have already setup your Ring security system and wish to integrate it with Home Assistant for automation. If you have not done that, you will need to start there first.
First, we need to setup MQTT. MQTT (Message Queuing Telemetry Transport) is a lightweight messaging protocol that plays well with IoT (Internet of Things) devices so it’s ideal for devices with limited bandwidth.
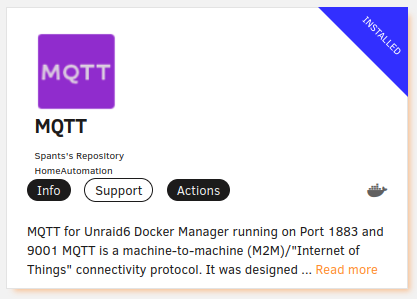
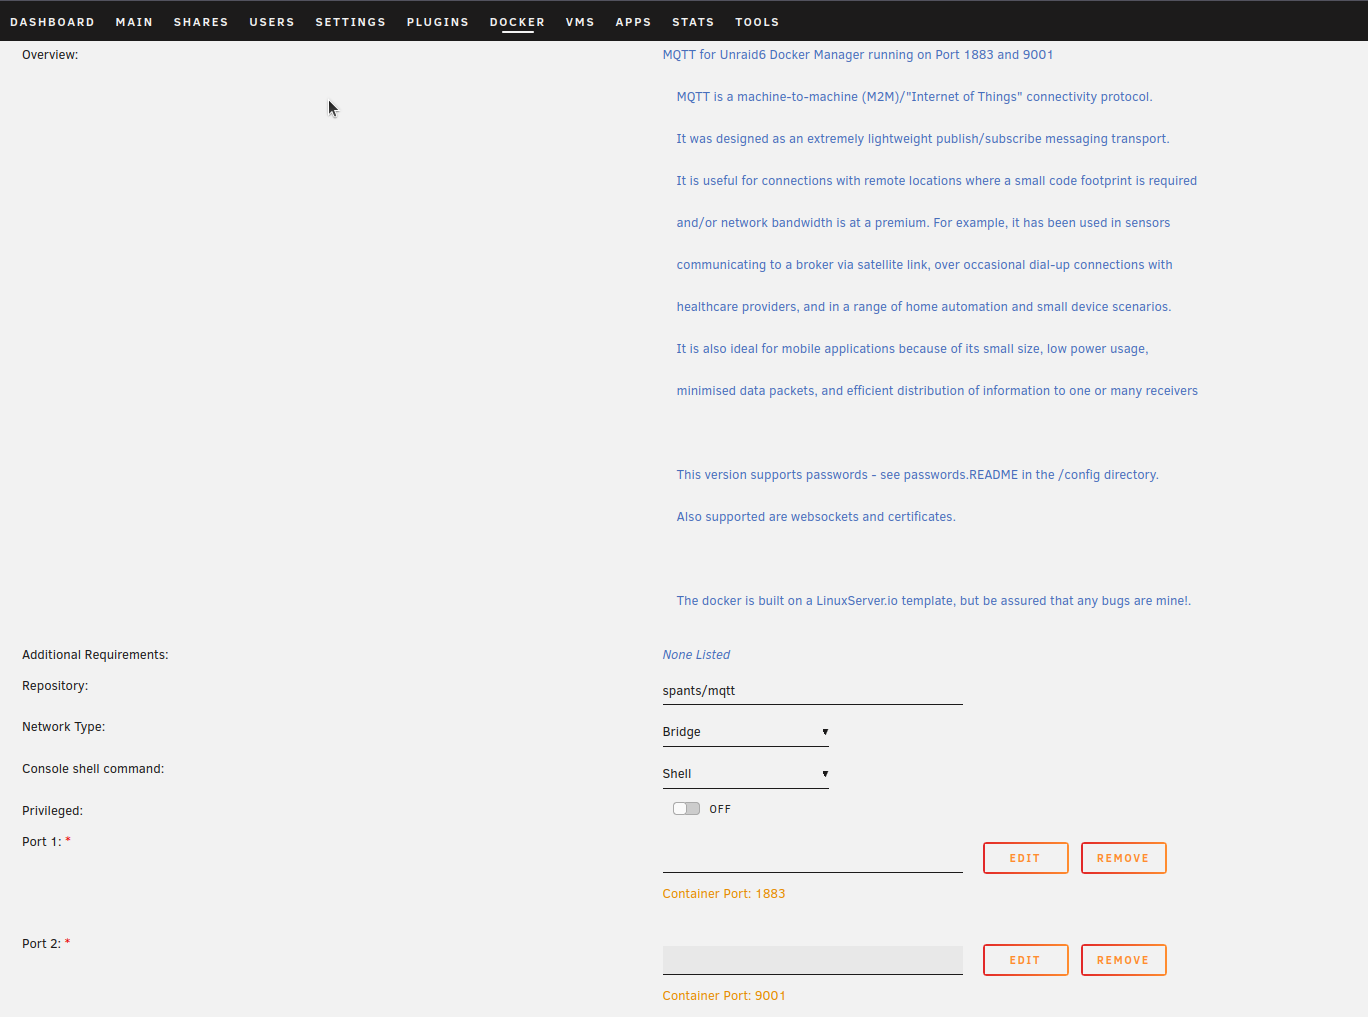
Head over to the Community Apps in UnRaid and search for MQTT. There are several options, but I chose “Spants’s Repository” app. Setup is super simple. In fact, I am pretty sure this container has the ports filled in for you, but you can change them if you need to.
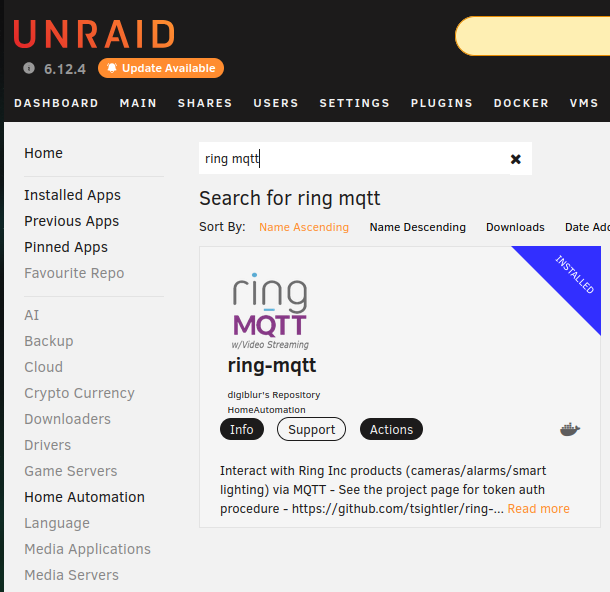
Now that we have MQTT setup and configured, head back over to the Community Apps section again and search for Ring-MQTT. At the time of writing, there’s only one app so need to worry about which one to choose.
There are quite a few options here to fill out, but fortunately we do not need most of them to get up and running. To start with, we need to choose a DataPath for where the container will store the necessary configuration files. I usually leave it as the default path “/mnt/user/appdata/ring-mqtt” For now, we need to enter the localhost address for your MQTT instance. Enter “mqtt://192.xxx.x.xxx” for the format. If you have username and password setup for your MQTT instance, enter then in the respective fields. The port field should already be populated with the default port for MQTT, however, if you changed it during setup, you will need to enter whatever port you changed it to here.
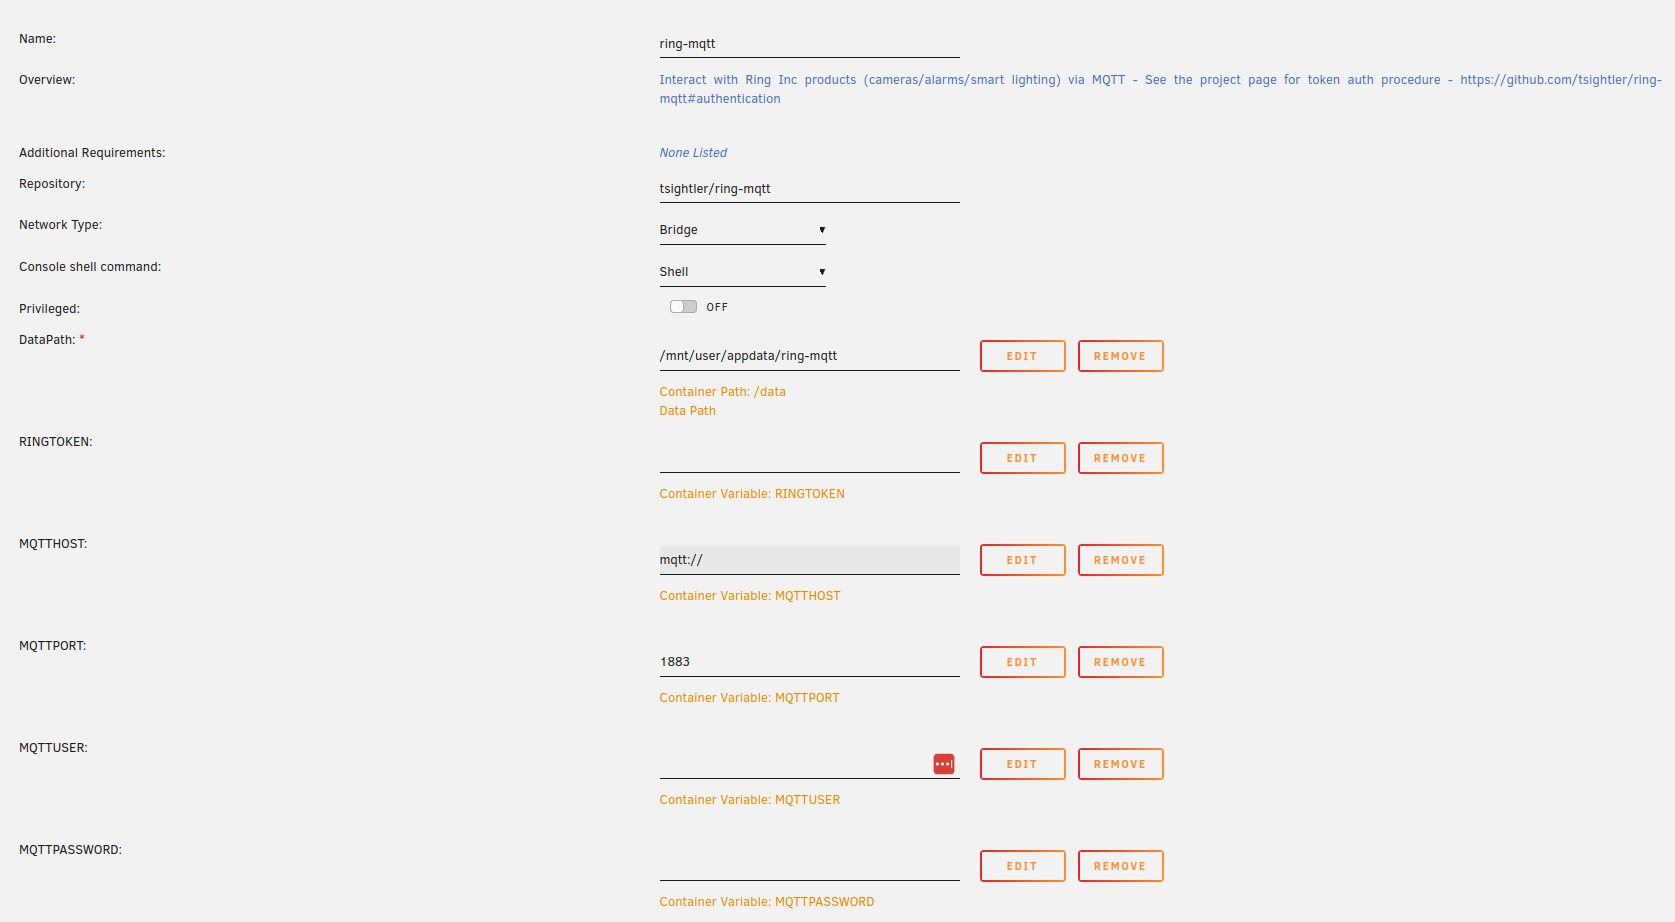
The rest of these fields are option in my opinion as I only entered the Disarm code value. Select Apply to deploy the container. Now, you might be wondering why we did not enter anything for the Ring Token since that seems important. It is definitely important as we will need this for the integration to work, but we will need run some commands.
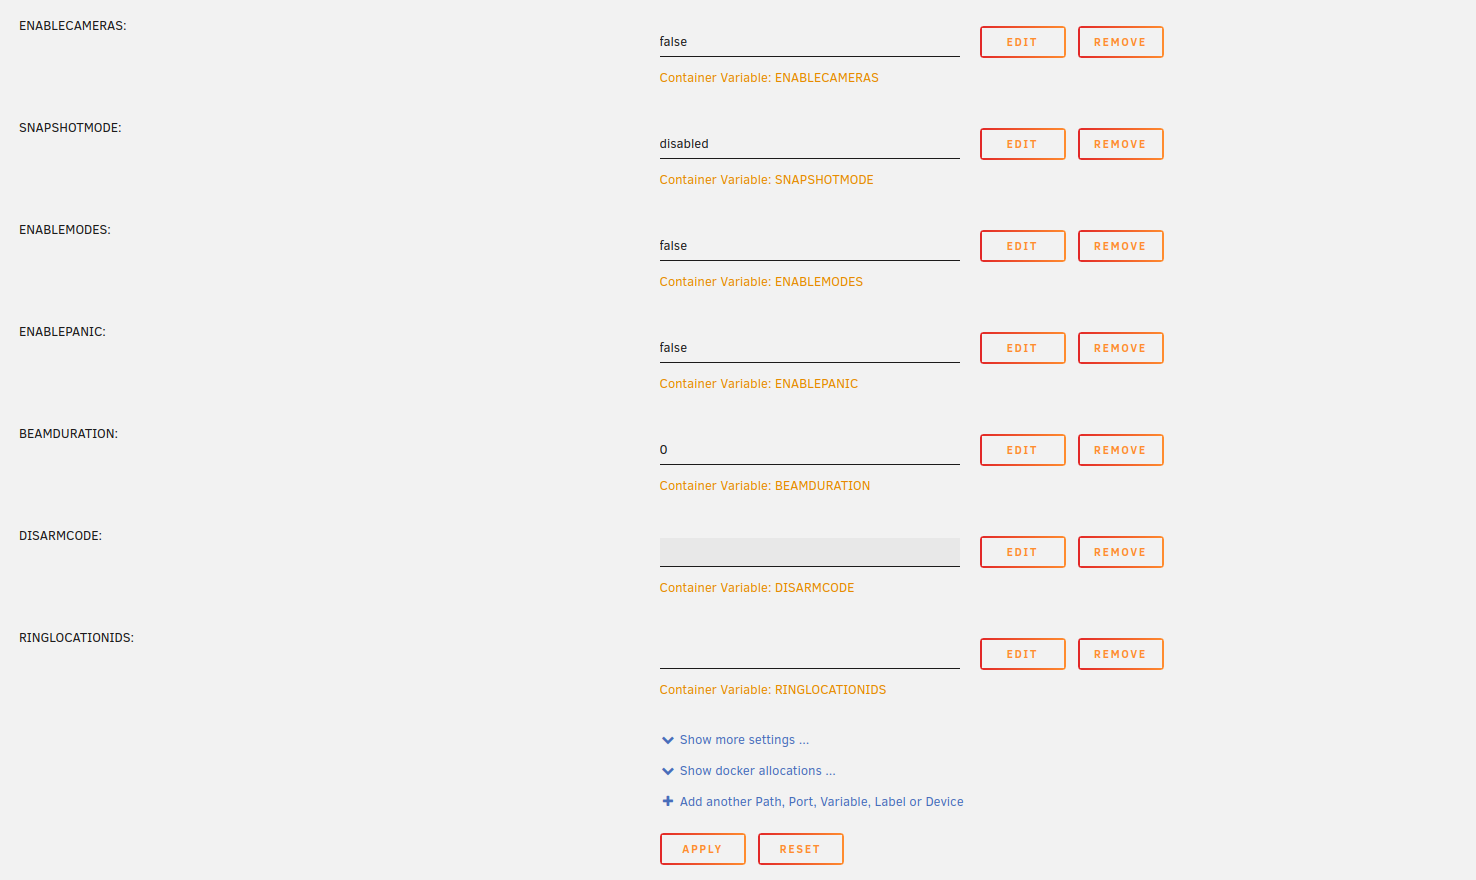
We are finished with this portion of setup for now. Let’s head to the Github page https://github.com/tsightler/ring-mqtt/wiki/Installation-(Docker) to run the necessary commands to get the Ring Token.
We need two commands from this page, but I’ll list them here for your convenience.
docker run -it –rm –mount type=bind,source= <enter_the_DataPath_variable_here>,target=/data –entrypoint /app/ring-mqtt/init-ring-mqtt.js tsightler/ring-mqtt
docker run –rm –mount type=bind,source= <enter_the_DataPath_variable_here>,target=/data tsightler/ring-mqtt
Now that we have the scripts we need, open up the Terminal in UnRaid. In the terminal, enter the first command, but be sure to enter the DataPath we set earlier in the “Source” section of the script.
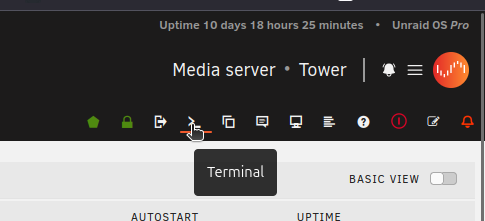
If done correctly, the terminal will prompt you to enter your Ring account credentials: Email, Password, and 2FA if it’s setup. Once this has been all entered, the container will start creating the configuration files that were missing before. Now, we need to enter the second script to bring the container back up.
We are done with the Ring-MQTT and MQTT container configuration so let’s head on over to Home Assistant.
In Home Assistant, you simply need to add the MQTT integration. This can be found under Settings > Devices & Services > MQTT. Enter you localhost, port, and credentials (if you setup a username and password) and now you all good.

Leave a Reply